ROUGHNESS MEASUREMENT

back
News / Product Highlights / Roughness Measurement

ROUGHNESS MEASUREMENT

Product Highlights

CUTTING-EDGE TECHNOLOGY FOR MAXIMUM PRECISION

  • Fully automatic roughness measurement now possible from module 0.9
  • High-precision sensing and evaluation of superfine structures on surface-ground gearings

All precision measuring centers in the P-series can be equipped with a high-precision roughness measurement device. This roughness measurement can be integrated fully automatically into both the gearing measurement and the coordinate measurement, allowing all measurements to be conducted in one clamping.

  • Fully automatic roughness measurement of gearings from as small as module 0.9 mm, as well as shafts and plane surfaces
  • Evaluation of roughness parameters according to DIN EN ISO 4287 (Ra, Rz, Rt, Rmax)
  • Evaluation of contact ratio parameters according to DIN EN ISO 13565-2 (Rk, Rpk, Rvk, MR1, MR2)
  • Skid sensing system for effective separation of the usable signal from ambient influences
  • Integrated motorized swivel device for automatic alignment of the diamond needle with a diamond tip radius of 2 µm or 5 µm
  • Optimal scanning conditions with measuring runs similar to gear measurement
  • Comprehensive collision protection
  • Optimized design to protect the diamond needle
  • Extremely high resolution of 7 nm
  • Robust, reproducible measuring results even on extremely smooth (e.g., surface-ground) surfaces
  • Easy handling through integration into the normal measuring process
  • Precise measurement, even in the shop-floor environment
  • Fully automatic procedure for probe change (option)

The new KLINGELNBERG GEARS inline Customer Magazine is here

In this latest edition, issue 9, of the GEARS inline Customer Magazine, Klingelnberg once again presents all sorts of trends and innovations from the world of gears. This time, the machine manufacturer focuses primarily on the hot topic of noise behavior and analysis. 

Over the course of the last few years, noise behavior in gears has received more and more attention. This led to the development of a comprehensive methodology for evaluating the running behavior of gears and gearboxes. It soon became apparent, however, that the physical variables for noise assessment were becoming less and less meaningful for running behavior. Sounds that scarcely differ in their physical measurands can be perceived as pleasant or highly annoying. The methods of psychoacoustics are used to describe auditory perception in a way that is appropriate for the human ear. Instead of sound pressure in decibels, psychoacoustics describes the loudness, sharpness and tonality of a sound experience. For fact-driven engineers, the foray into psychoacoustics is well outside their comfort zone, but it is a worthwhile challenge, and one that Klingelnberg addresses for the first time in the current GEARS inline Magazine. 

But Klingelnberg doesn’t get bogged down in theoretical observations in the individual articles of the Magazine. Instead, the system supplier shows which production methods are used to influence noise behavior and how noise can be measured to generate an acoustic pattern that we humans perceive as pleasant.

The current issue also includes many other fascinating articles on a range of topics, including the unveiling of a new software application for Curvic® Couplings, hard finishing of large internal teeth, the Quiet Surface Shifting (QSS) method for targeted modeling of a gear’s surface, the Klingelnberg All-in-One production system for cycloids, the measuring technology in the new Höfler Cylindrical Gear Roll Testing Machine R 300, and the evolution of Klingelnberg’s Japanese subsidiary and its almost 70-year-long history of success. 

The latest GEARS inline – order now!
You can now order the latest issue from the Klingelnberg Marketing department. Simply send an e-mail to marketing(at)klingelnberg.com with “GEARS inline” in the subject line. We hope you enjoy reading the new issue!

NOVELTY FOR MEASUREMENT FROM MODULE 0.9

Roughness Measurement

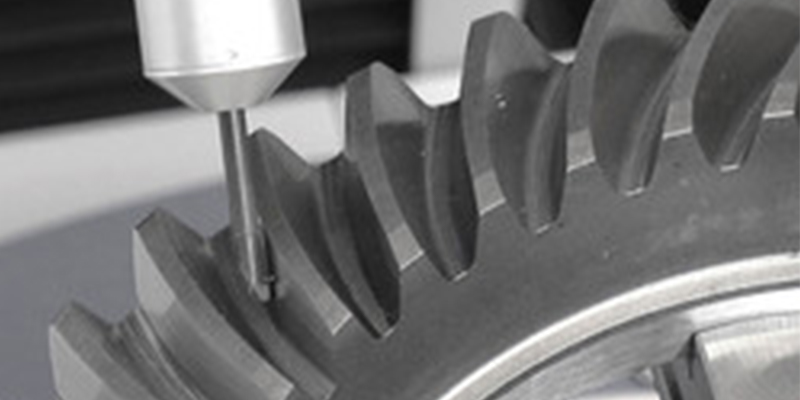
With the new miniature roughness probe, even gearings as small as module 0.9 can be measured fully automatically. This is possible thanks to a specially developed design that ensures contact with the largest possible portion of the gearing surface.

CUSTOM SOLUTIONS FOR BEVEL GEARS

Roughness Measurement

Alongside the straight standard design for pinions, an angled probe is available for bevel gear measurement.

VERSATILE APPLICATION

Roughness Measurement

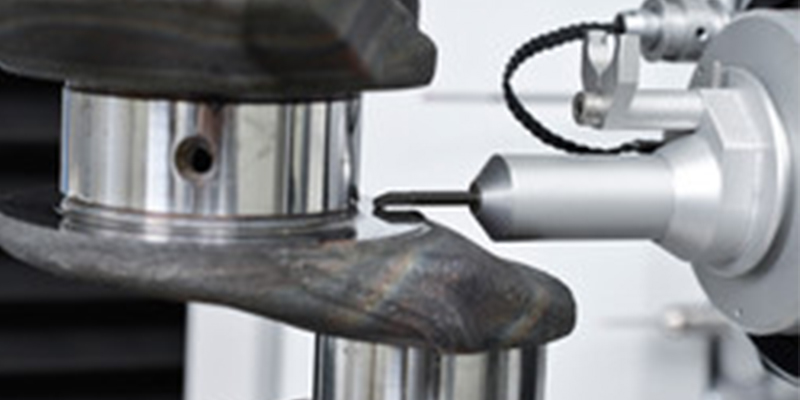
All roughness parameters can be scanned quickly and easily on shafts as well as on the bearing surfaces of gearings.

PROVEN PROBE SYSTEMS FOR CYLINDRICAL GEARS

Roughness Measurement

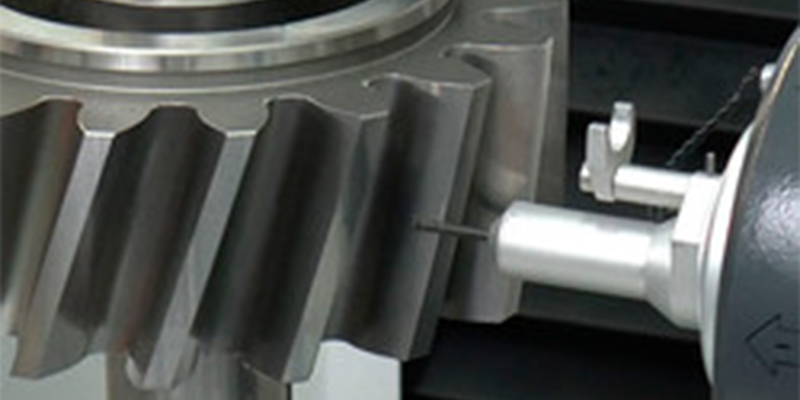
Roughness measurement on Klingelnberg P machines is proven on several hundred machines over the last years. With the precise CNC-controlled measuring runs reproducibilities of 0.01 µm are achieved.

AUTOMATIC CHANGE, INCL. PLUG CONNECTOR

Roughness Measurement

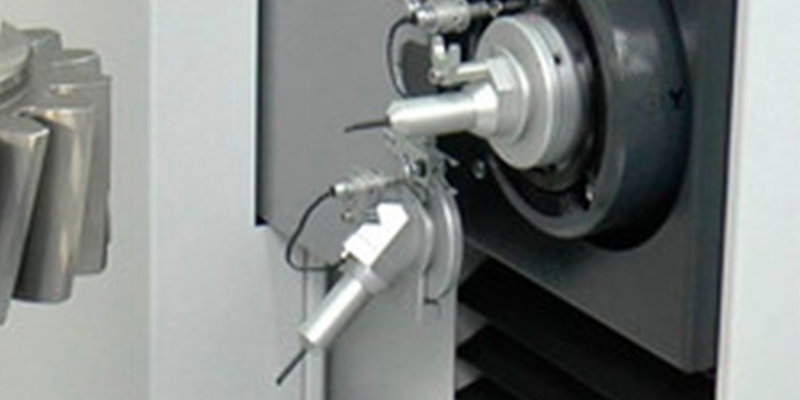
In connection with the probe change magazine, not only is the roughness probe automatically changed, the plug connector for the sensor system is also inserted fully automatically.

CLEAR, DESCRIPTIVE PRESENTATION

Roughness Measurement

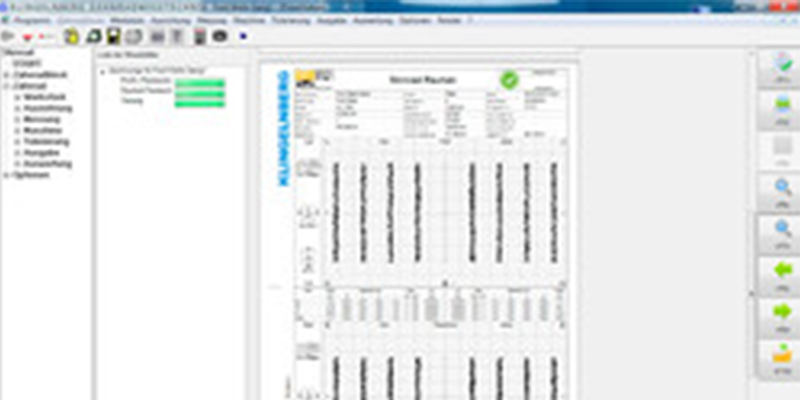
The roughness measurement curves and parameters for roughness and contact ratio are clearly displayed on the screen and in the measurement report – in the same way as evaluation of  the gear geometry.