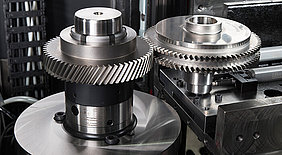
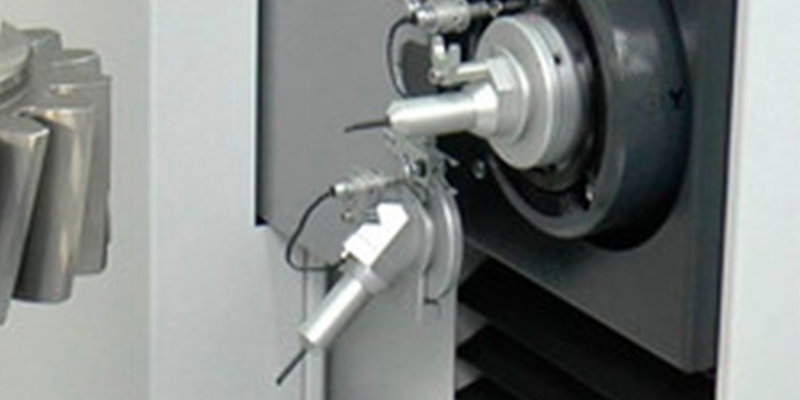
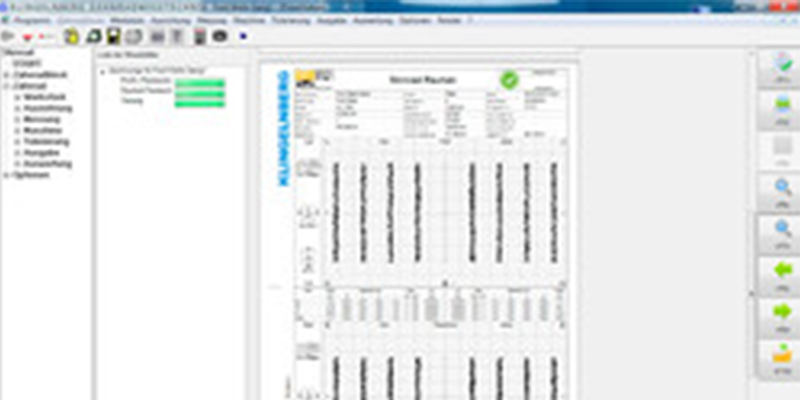
The Höfler Cylindrical Gear Roll Testing Machine R 300 is the latest machine development from the engineering company Klingelnberg in the area of cylindrical gear technology. Designed for all five roll testing methods, this compact machine is the ideal solution for anyone who wants to combine inspection cycles and reduce disassembly costs while benefiting from a user-friendly design.
Due to the increasing outsourcing of part and component production in large-scale transmission manufacturing, some transmission and vehicle manufacturers now require a certificate of quality for all gears installed in the powertrain. A further driver of ever-higher inspection levels is e-mobility. With the elimination of the combustion engine, there is an even greater focus on the noise behavior of the transmission than before, since the electric motor has a comparatively low masking effect on gear noise. To meet this challenge, Klingelnberg is building on roll testing technology, a familiar method from the bevel gear industry that is now moving into the world of cylindrical gears.
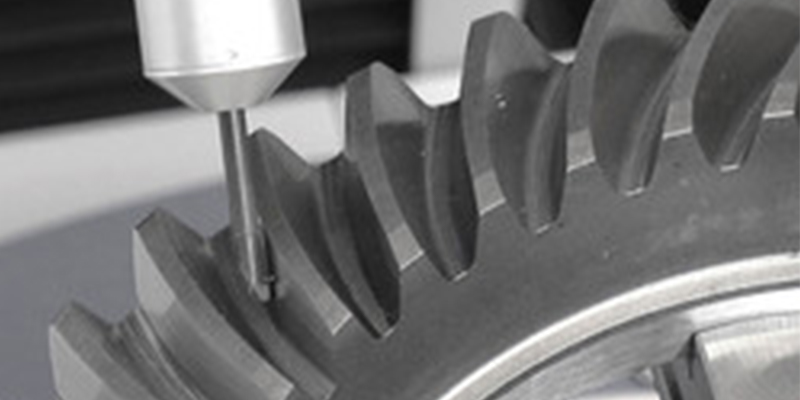
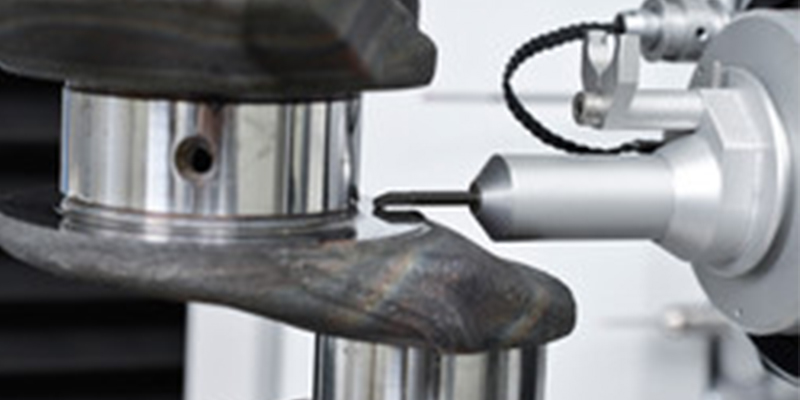
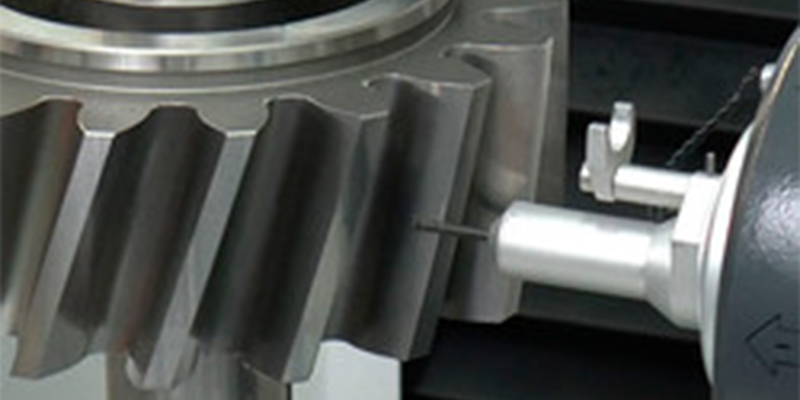
Only with a flexible test machine can the many quality control requirements for gears be met. Depending on the configuration, the R 300 provides the option of using all five roll testing methods. These include the single flank test, the structure-borne noise test and torsional acceleration test, the double-flank test, and the helix roll test. Thus the R 300 can be used at every point in the production process chain for cylindrical gears – from monitoring the soft cutting to checking the hardening distortions, to evaluating the noise behavior of the installation-ready gear.
Modular Machine Design
In terms of axis traversing paths, the Höfler Cylindrical Gear Roll Testing Machine R 300 covers the same component spectrum as the tried-and-tested Höfler Cylindrical Gear Generating Grinding Machine Speed Viper. Gear components up to an outside diameter of 300 mm can be tested, for example. In conjunction with the optional counter support, shafts up to
800 mm in length can be analyzed to determine their running performance and noise behavior. With a minimal footprint of 2 m2, the machine’s compact design also saves costs since it requires very little expensive floor space.
Convenient, User Friendly Design
The tried-and-tested design of the human-machine interface (HMI), familiar from the cylindrical gear and bevel gear processing machines, also ensures optimal user-friendliness in the R 300. The HMI is equipped with a 19-inch touchscreen, and important functions, such as “Clamp and release workpiece”, can be initiated via hardware switches. To make the user navigation as easy as possible, the operator is guided via a process-oriented menu structure to only those windows that are necessary for the specific test task at hand. This contributes significantly to the prevention of input errors and shortens the time required to train new employees.
Thus the R 300 offers the optimal solution for a compact, flexible, and highly precise testing technology for 100-percent quality control of cylindrical gears. The machine will be presented for the first time at the EMO Milano trade show in Hall 02, Booth D14 from 04 to 09 October 2021.

